> ## Documentation Index
> Fetch the complete documentation index at: https://rllm-org-rllm-19-feat-renderer-parser-backend.mintlify.site/llms.txt
> Use this file to discover all available pages before exploring further.
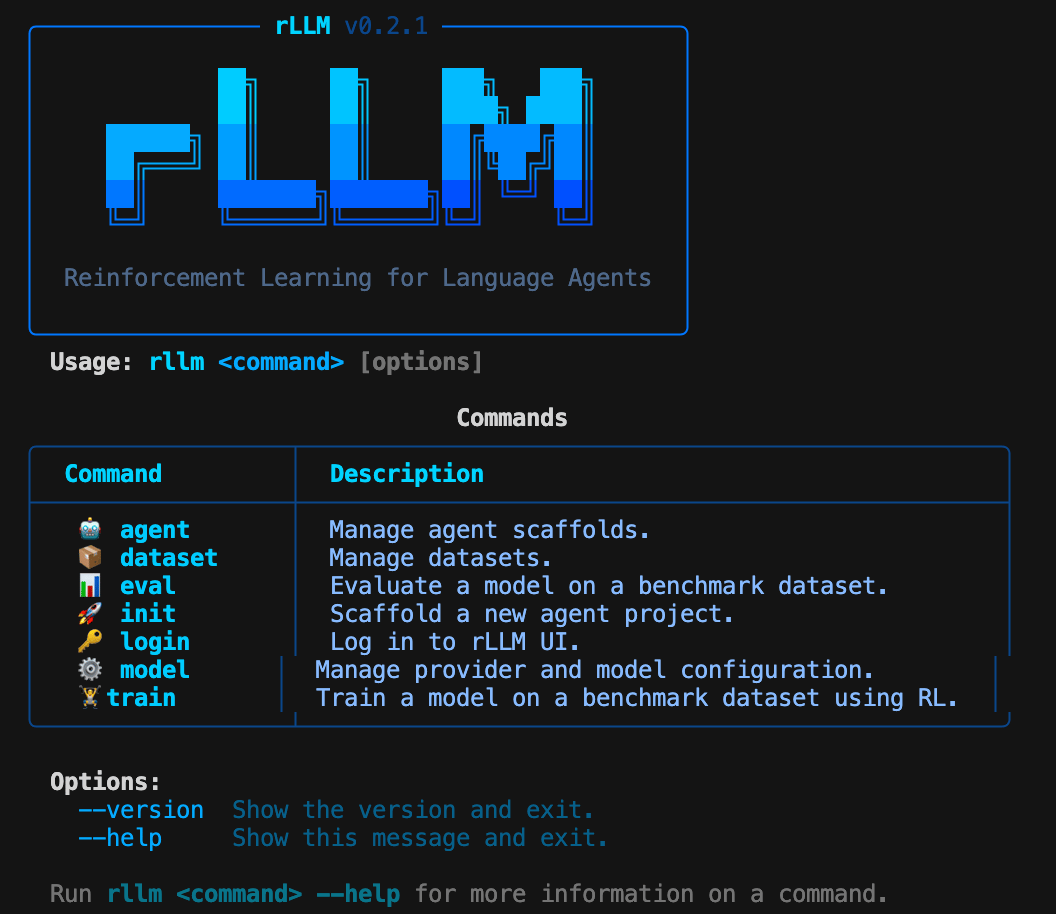
# Quick start (CLI)
> Evaluate and train your first agent using the rllm command line in minutes
This guide gets you from zero to running an evaluation and launching RL training using only the `rllm` CLI — no Python scripts required.
 ## Prerequisites
* rLLM installed (see [installation](/installation))
* An API key for a model provider (OpenAI, Anthropic, Together, etc.)
## Step 1: Configure your model
Run the interactive setup to select a provider and model:
```bash theme={null}
rllm model setup
```
You'll be prompted to:
1. Choose a provider (e.g., OpenAI)
2. Enter your API key
3. Pick a default model (e.g., `gpt-4o`)
Your configuration is saved to `~/.rllm/config.json`. You can switch providers later with `rllm model swap`.
## Step 2: Explore available datasets
Browse the full catalog of 50+ benchmarks:
```bash theme={null}
rllm dataset list --all
```
To preview what a dataset looks like:
```bash theme={null}
rllm dataset inspect gsm8k -n 3
```
## Step 3: Run an evaluation
Evaluate your model on a benchmark:
```bash theme={null}
rllm eval gsm8k
```
That's it. rLLM will:
1. Auto-pull the dataset from HuggingFace
2. Start a local LiteLLM proxy for your configured provider
3. Resolve the default agent and evaluator from the catalog
4. Run the evaluation with 64 concurrent requests
5. Print accuracy, error count, and per-signal metrics
For a quick test run, limit the number of examples:
```bash theme={null}
rllm eval gsm8k --max-examples 20
```
### Evaluate with a local model
If you're running a model server (vLLM, SGLang, etc.), point to it directly:
```bash theme={null}
rllm eval gsm8k --base-url http://localhost:30000/v1 --model Qwen/Qwen3-4B
```
## Step 4: Train with RL
Launch reinforcement learning training on a benchmark:
```bash theme={null}
rllm train gsm8k --model Qwen/Qwen3-8B
```
This starts the unified training pipeline with the tinker backend, using GRPO for advantage computation and LoRA for efficient fine-tuning.
Customize training hyperparameters:
```bash theme={null}
rllm train gsm8k \
--model Qwen/Qwen3-8B \
--batch-size 16 \
--group-size 4 \
--lr 1e-5 \
--max-steps 50
```
## Step 5: Build a custom agent
Scaffold a new agent project:
```bash theme={null}
rllm init my-agent --template react
```
Install it and use it immediately:
```bash theme={null}
cd my-agent
pip install -e .
rllm eval gsm8k --agent my-agent
```
## What's next
Full reference for all commands and flags
Browse 50+ benchmarks across math, code, QA, VLM, and more
Dive into the training pipeline and configuration
Use any LLM framework with SDK-based training
## Prerequisites
* rLLM installed (see [installation](/installation))
* An API key for a model provider (OpenAI, Anthropic, Together, etc.)
## Step 1: Configure your model
Run the interactive setup to select a provider and model:
```bash theme={null}
rllm model setup
```
You'll be prompted to:
1. Choose a provider (e.g., OpenAI)
2. Enter your API key
3. Pick a default model (e.g., `gpt-4o`)
Your configuration is saved to `~/.rllm/config.json`. You can switch providers later with `rllm model swap`.
## Step 2: Explore available datasets
Browse the full catalog of 50+ benchmarks:
```bash theme={null}
rllm dataset list --all
```
To preview what a dataset looks like:
```bash theme={null}
rllm dataset inspect gsm8k -n 3
```
## Step 3: Run an evaluation
Evaluate your model on a benchmark:
```bash theme={null}
rllm eval gsm8k
```
That's it. rLLM will:
1. Auto-pull the dataset from HuggingFace
2. Start a local LiteLLM proxy for your configured provider
3. Resolve the default agent and evaluator from the catalog
4. Run the evaluation with 64 concurrent requests
5. Print accuracy, error count, and per-signal metrics
For a quick test run, limit the number of examples:
```bash theme={null}
rllm eval gsm8k --max-examples 20
```
### Evaluate with a local model
If you're running a model server (vLLM, SGLang, etc.), point to it directly:
```bash theme={null}
rllm eval gsm8k --base-url http://localhost:30000/v1 --model Qwen/Qwen3-4B
```
## Step 4: Train with RL
Launch reinforcement learning training on a benchmark:
```bash theme={null}
rllm train gsm8k --model Qwen/Qwen3-8B
```
This starts the unified training pipeline with the tinker backend, using GRPO for advantage computation and LoRA for efficient fine-tuning.
Customize training hyperparameters:
```bash theme={null}
rllm train gsm8k \
--model Qwen/Qwen3-8B \
--batch-size 16 \
--group-size 4 \
--lr 1e-5 \
--max-steps 50
```
## Step 5: Build a custom agent
Scaffold a new agent project:
```bash theme={null}
rllm init my-agent --template react
```
Install it and use it immediately:
```bash theme={null}
cd my-agent
pip install -e .
rllm eval gsm8k --agent my-agent
```
## What's next
Full reference for all commands and flags
Browse 50+ benchmarks across math, code, QA, VLM, and more
Dive into the training pipeline and configuration
Use any LLM framework with SDK-based training